User Manual - Dijit.app
B2B AI and OCR solution for document management
Introduction to Dijit.app
Dijit.app is a B2B SaaS solution designed for document management using Artificial Intelligence and OCR (Optical Character Recognition) technology. This tool allows you to efficiently digitize, process, and manage business documents.
- Digitization of purchase invoices, expenses, delivery notes and other commercial documents
- Automatic processing using OCR to extract information
- Data classification thanks to the most powerful AI on the market
- Organization of documents by projects or works
- Automatic assignment of accounts and accounting entries
- Interface adapted for both mobile and desktop devices
- Centralized and secure document storage
How does Dijit.app work?
The process of uploading purchase invoices or receipt notes:
- Select PDFs or images
- Upload or drag the documents into their respective modules: Purchase Invoices or Delivery Notes
- Select project or document category (optional)
- The system automatically processes documents using OCR and classifies them with AI.
- The extracted information is available for consultation and management in the application.
- You can download the data in Excel or import it into an ERP with direct integration.
How does image loading work on a mobile device?
The basic process consists of:
- Users will take photos of documents (Example: Delivery notes) with their mobile phone, following basic image quality guidelines.
- Users will access the web application with the link provided through the internet browser on their mobile device.
- Upload the images to Dijit.app, associating them with the specific document type (Example: Delivery Notes)
- The system automatically processes documents using OCR and classifies them with AI.
- The extracted information is available for consultation and management in the desktop version.
- Optional: An administrator configures projects or works in the desktop version
- Optional: The information can be sent directly to an administrator account, without being viewed by the operator who took the photo and uploaded the document.
- Centered document sides: All 4 sides of the document must be inside the photo
- Senital plane: The approach should be from above, with the document flat.
- Avoid wrinkles: Avoid wrinkles to maintain data lines
- Neutral background: Avoid other documents with information behind the document
Access to the application
To access Dijit.app, use the link provided during registration, from any web browser.
- Desktop Version: Primarily intended for administrators for project configuration
- Mobile Version: Designed for users who need to upload documents from the field
Desktop Version
The desktop version of Dijit.app is designed for managing information, configuring projects, and managing the application. The mobile version is primarily designed for uploading documents in image format.
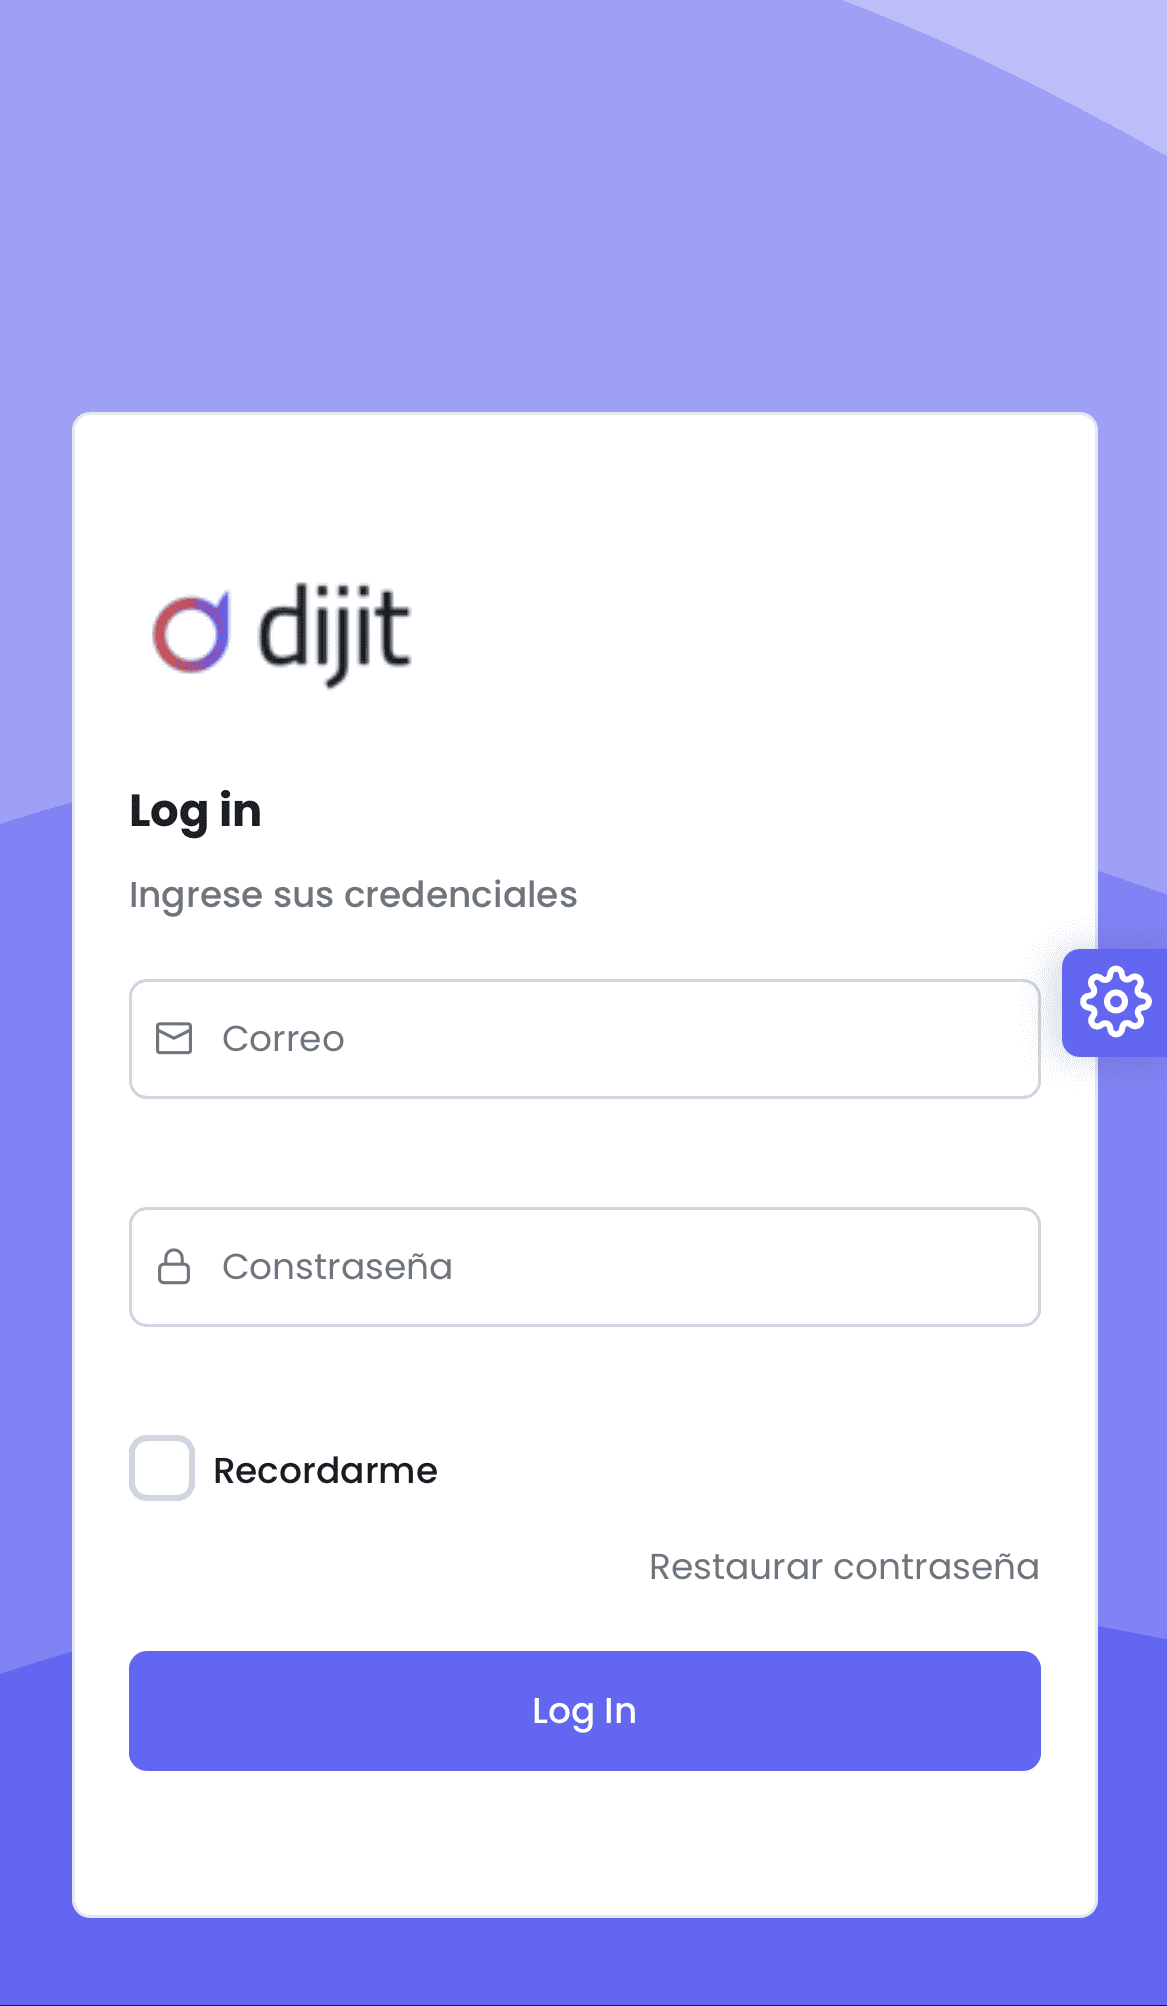
Open your preferred web browser and access the address provided in your welcome email.
Enter the administrator credentials provided by Dijit:
- Email: Enter the administrator email
- Password: Enter the administrator password
- Click the "Log In" button to log in.

Once authenticated:
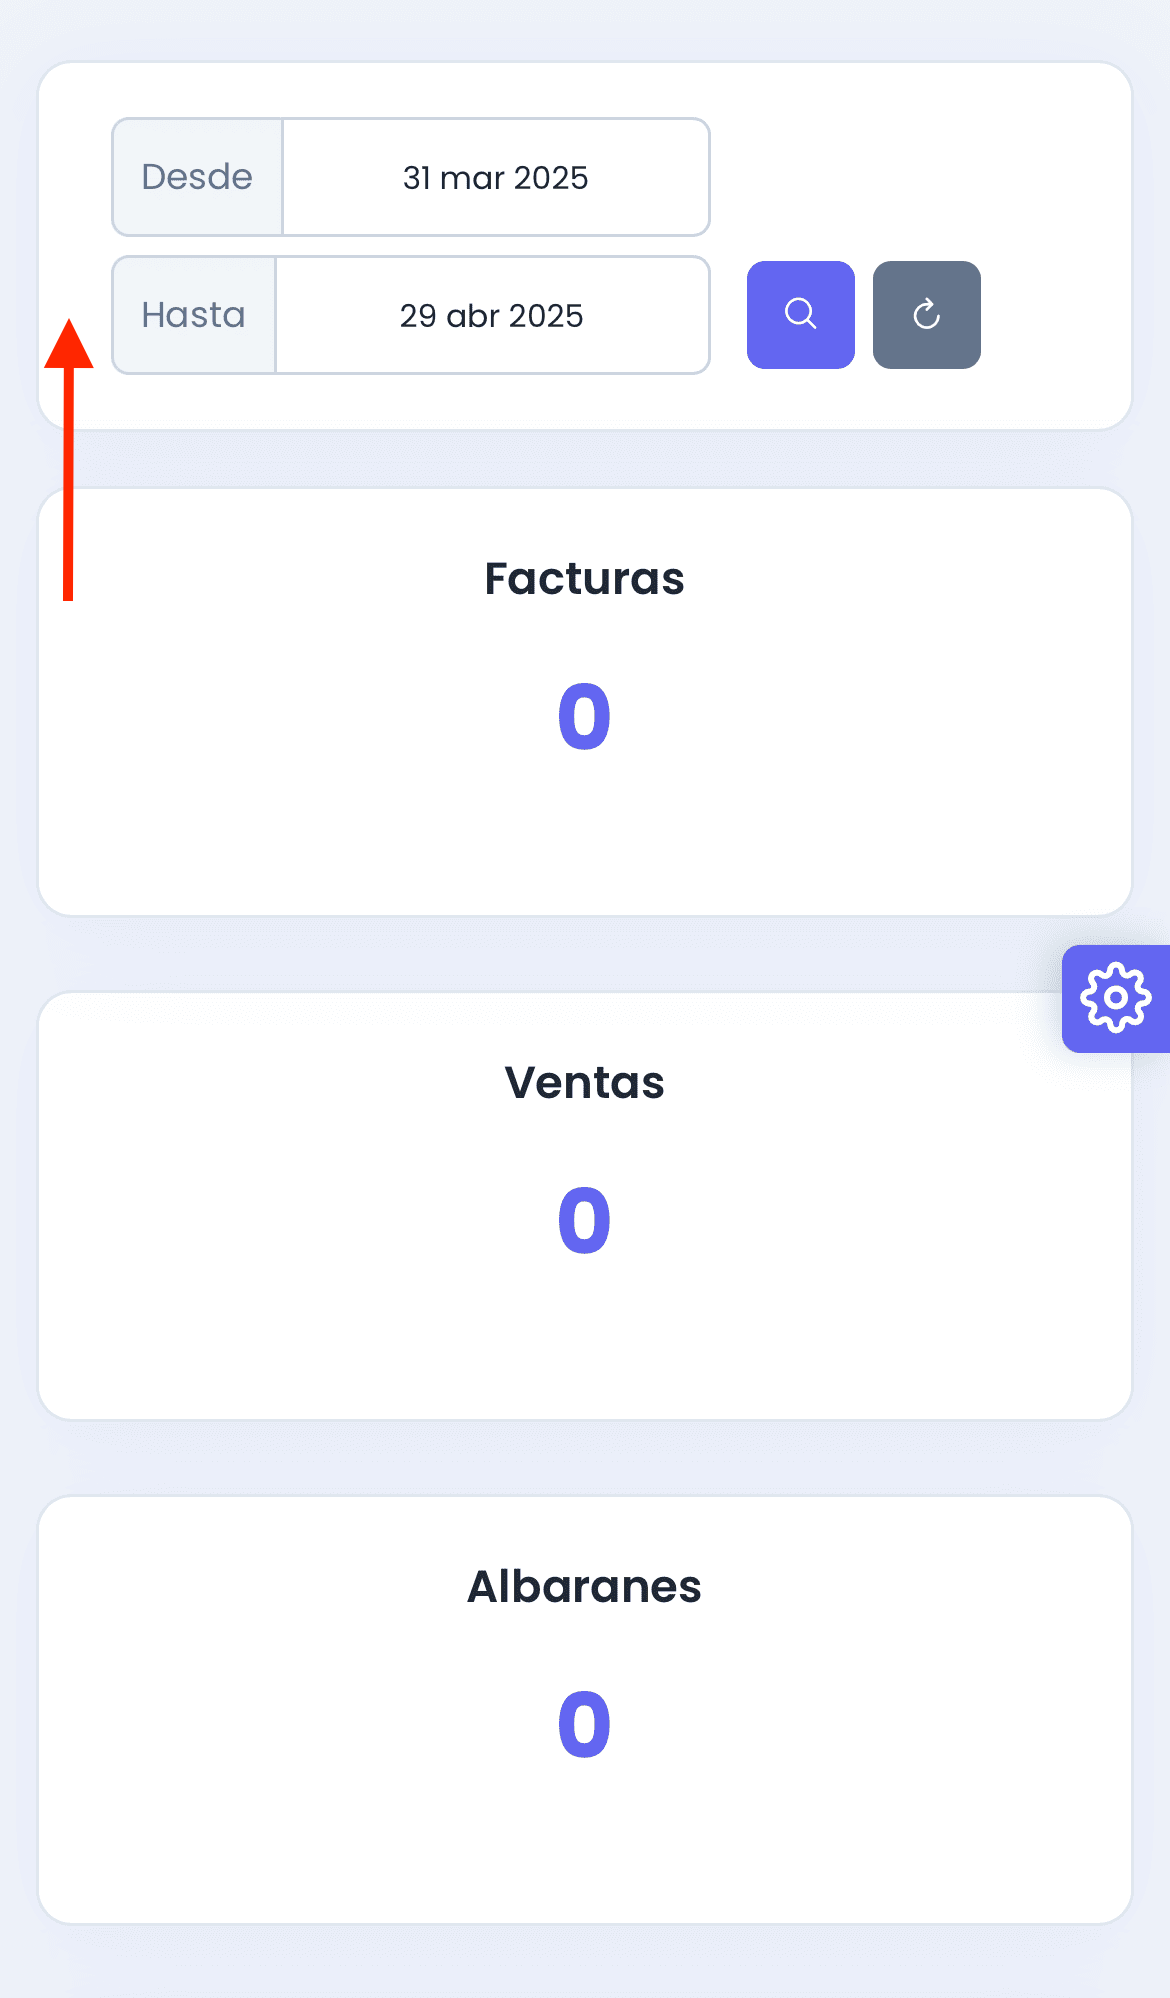
- The information dashboard will appear on your screen with a summary of the processed documents, expenses and a list of the most common items.
- You can use the date filters to obtain information for the chosen period.
- In the top corner you can hide or show the menu sidebar, for more display space on your computer.
- You can customize your Dashboard by requesting information and changes from the support team.

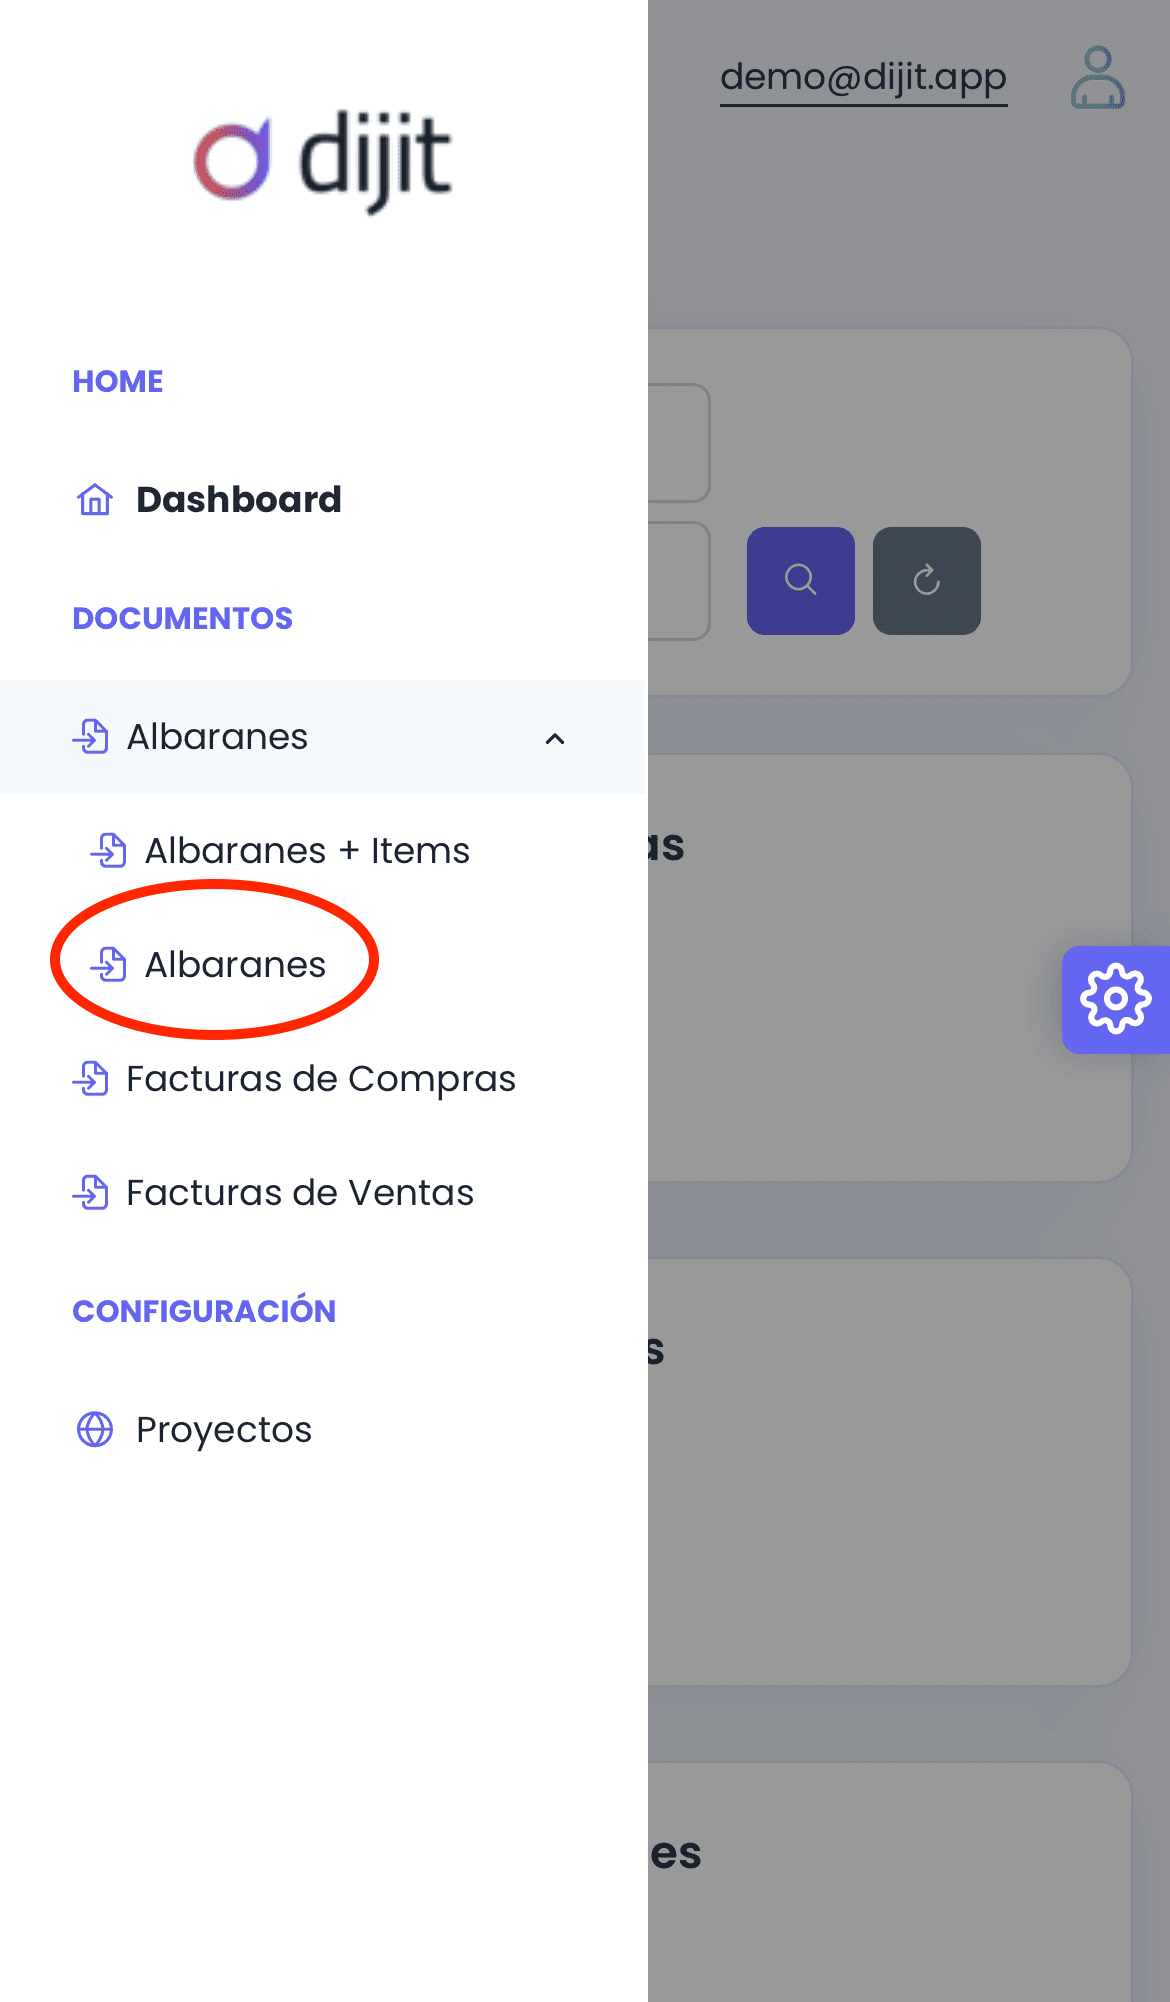
Choose "Projects" from the "Settings" menu:
- Click the Projects button in the left sidebar, under Settings
- Click "+ New"
- Enter the name of the new project and an optional description

In the document type section:
- Click on the document type (delivery notes, purchase invoices, expense invoices, sales invoices, other) in the sidebar
- The main table will appear with the different options
- Click the "Upload" button
- On the new screen, select the project name before uploading the documents (optional).
- Drag the PDF or image into the white box below the "Upload," "Process," or "Cancel" buttons.
- Click on process and wait for the green processing success message.
- If the document already exists, a red alert will appear.


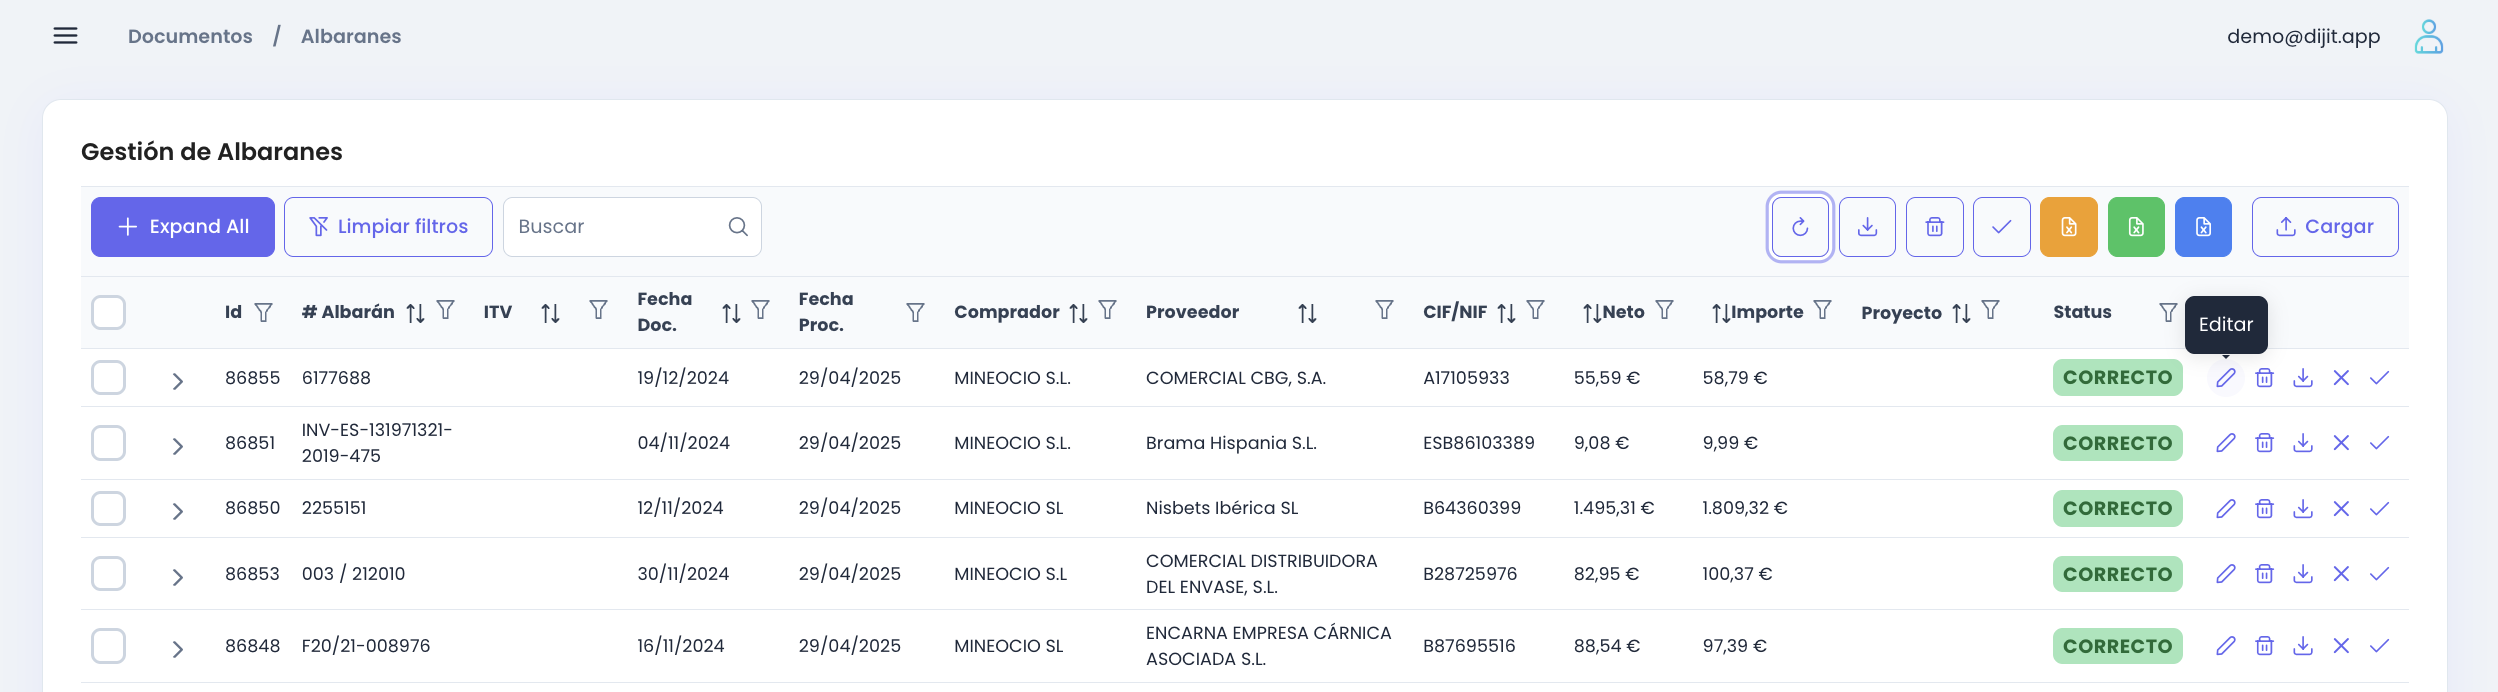
To edit the processed data:
- Choose the document to review
- You can be guided by the messages in the status column
- Click the pen icon ("Edit")
- A new screen will appear, divided into two parts. On the right, you'll see the image or PDF, and on the left, the data collected in the different tabs.
- In the "Document" tab you will see the header and total data.
- In the "Items" tab (Delivery notes) you will see the data of the list of products or items received.
- In the "References" tab (Purchase Invoices) you will see the delivery note data corresponding to the invoice.


To download the different Excel formats:
- Return to the main table of the desired document type
- In the options at the top right of the table you will find the Excel download icons
- Depending on the type of document, you will be able to download default formats.
- You can request a download format specific to your needs from the support team.
- You can download Excel files unlimitedly.
Mobile Version
The mobile version of Dijit.app is designed for users who need to upload documents from the field or outside the office. Below are the steps for using the app correctly.
Open your mobile device's browser and access the address provided in the welcome email.
Enter your credentials in the corresponding fields:
- Email: Enter your provided email address
- Password: Enter your password
- Click the "Log In" button to access the system
Once inside the application:
- Click on the menu icon (three horizontal lines) located at the top left of the screen
In the side menu:
- Locate the "DOCUMENTS" section
- Click on "Delivery Notes" (important: select "Delivery Notes", not "Delivery Notes + Items")
On the Delivery Note management screen:
- Locate and click the "Upload" button

Before uploading documents:
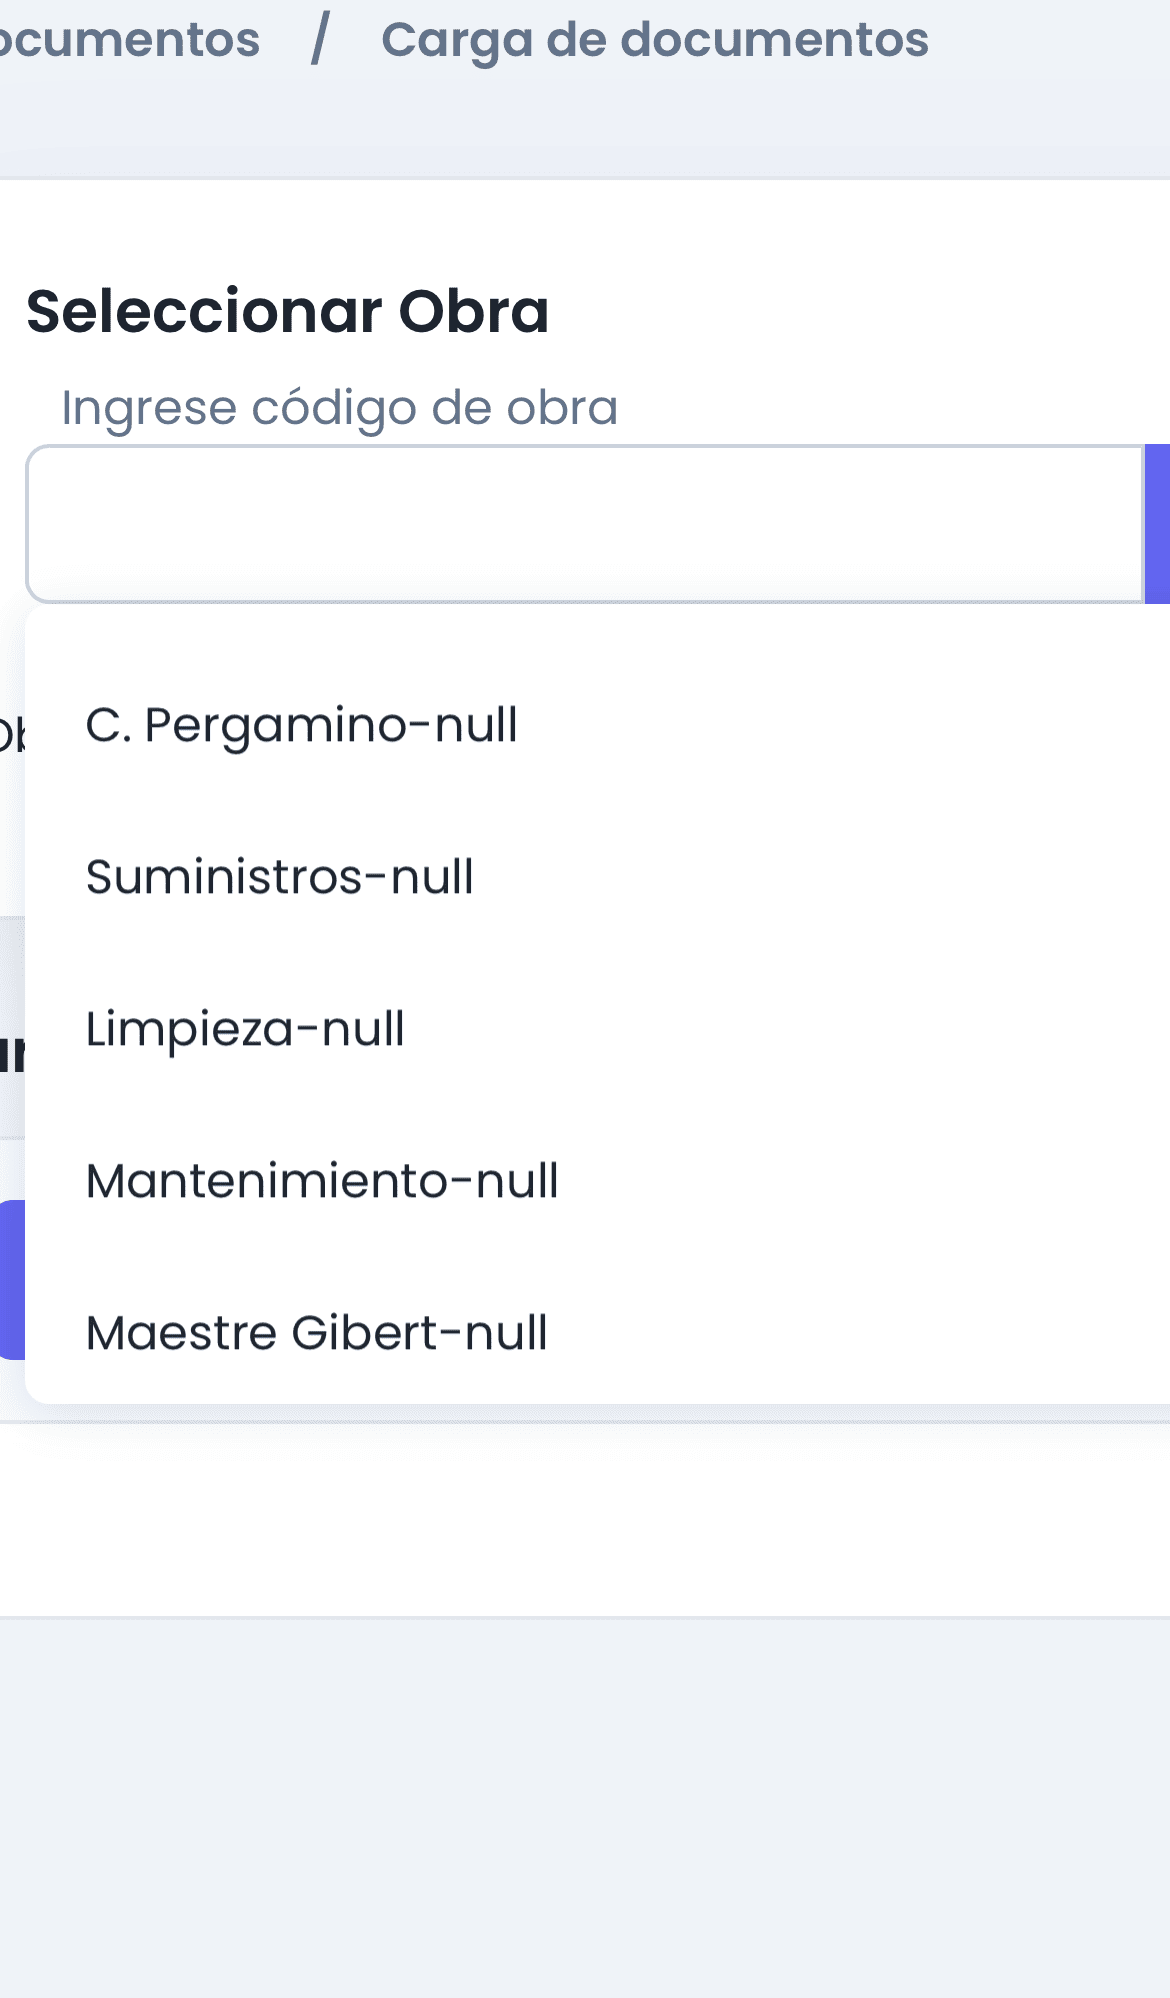
- Click on the "Enter work code" field or on the drop-down menu
- Select the corresponding work or project from the list shown
To start uploading documents:
- Click the "+ Upload" button
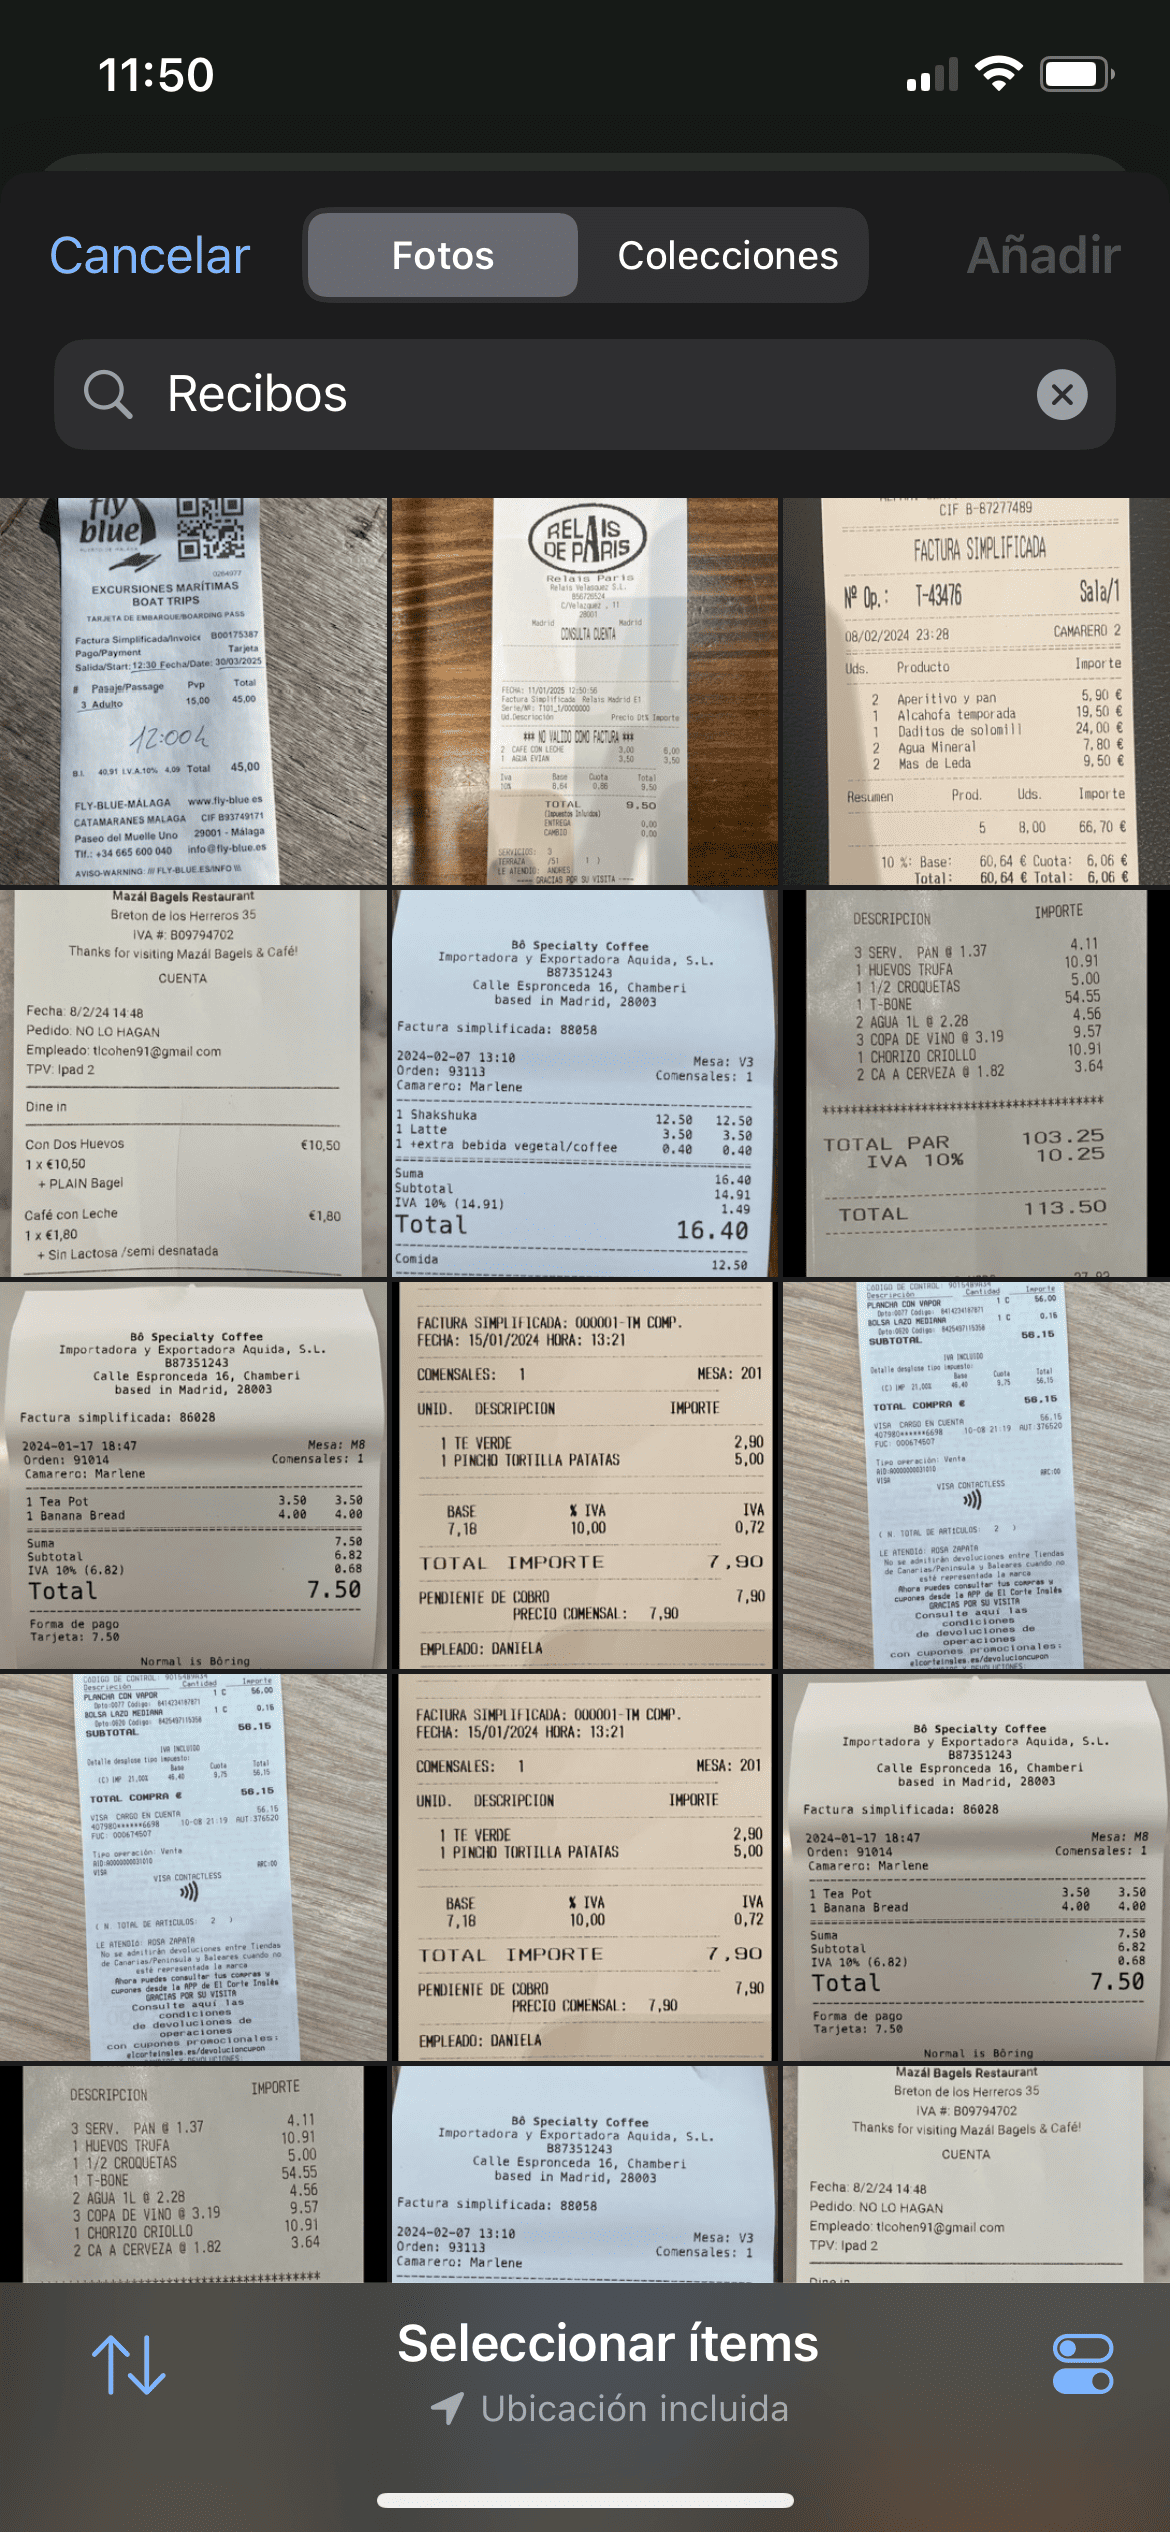
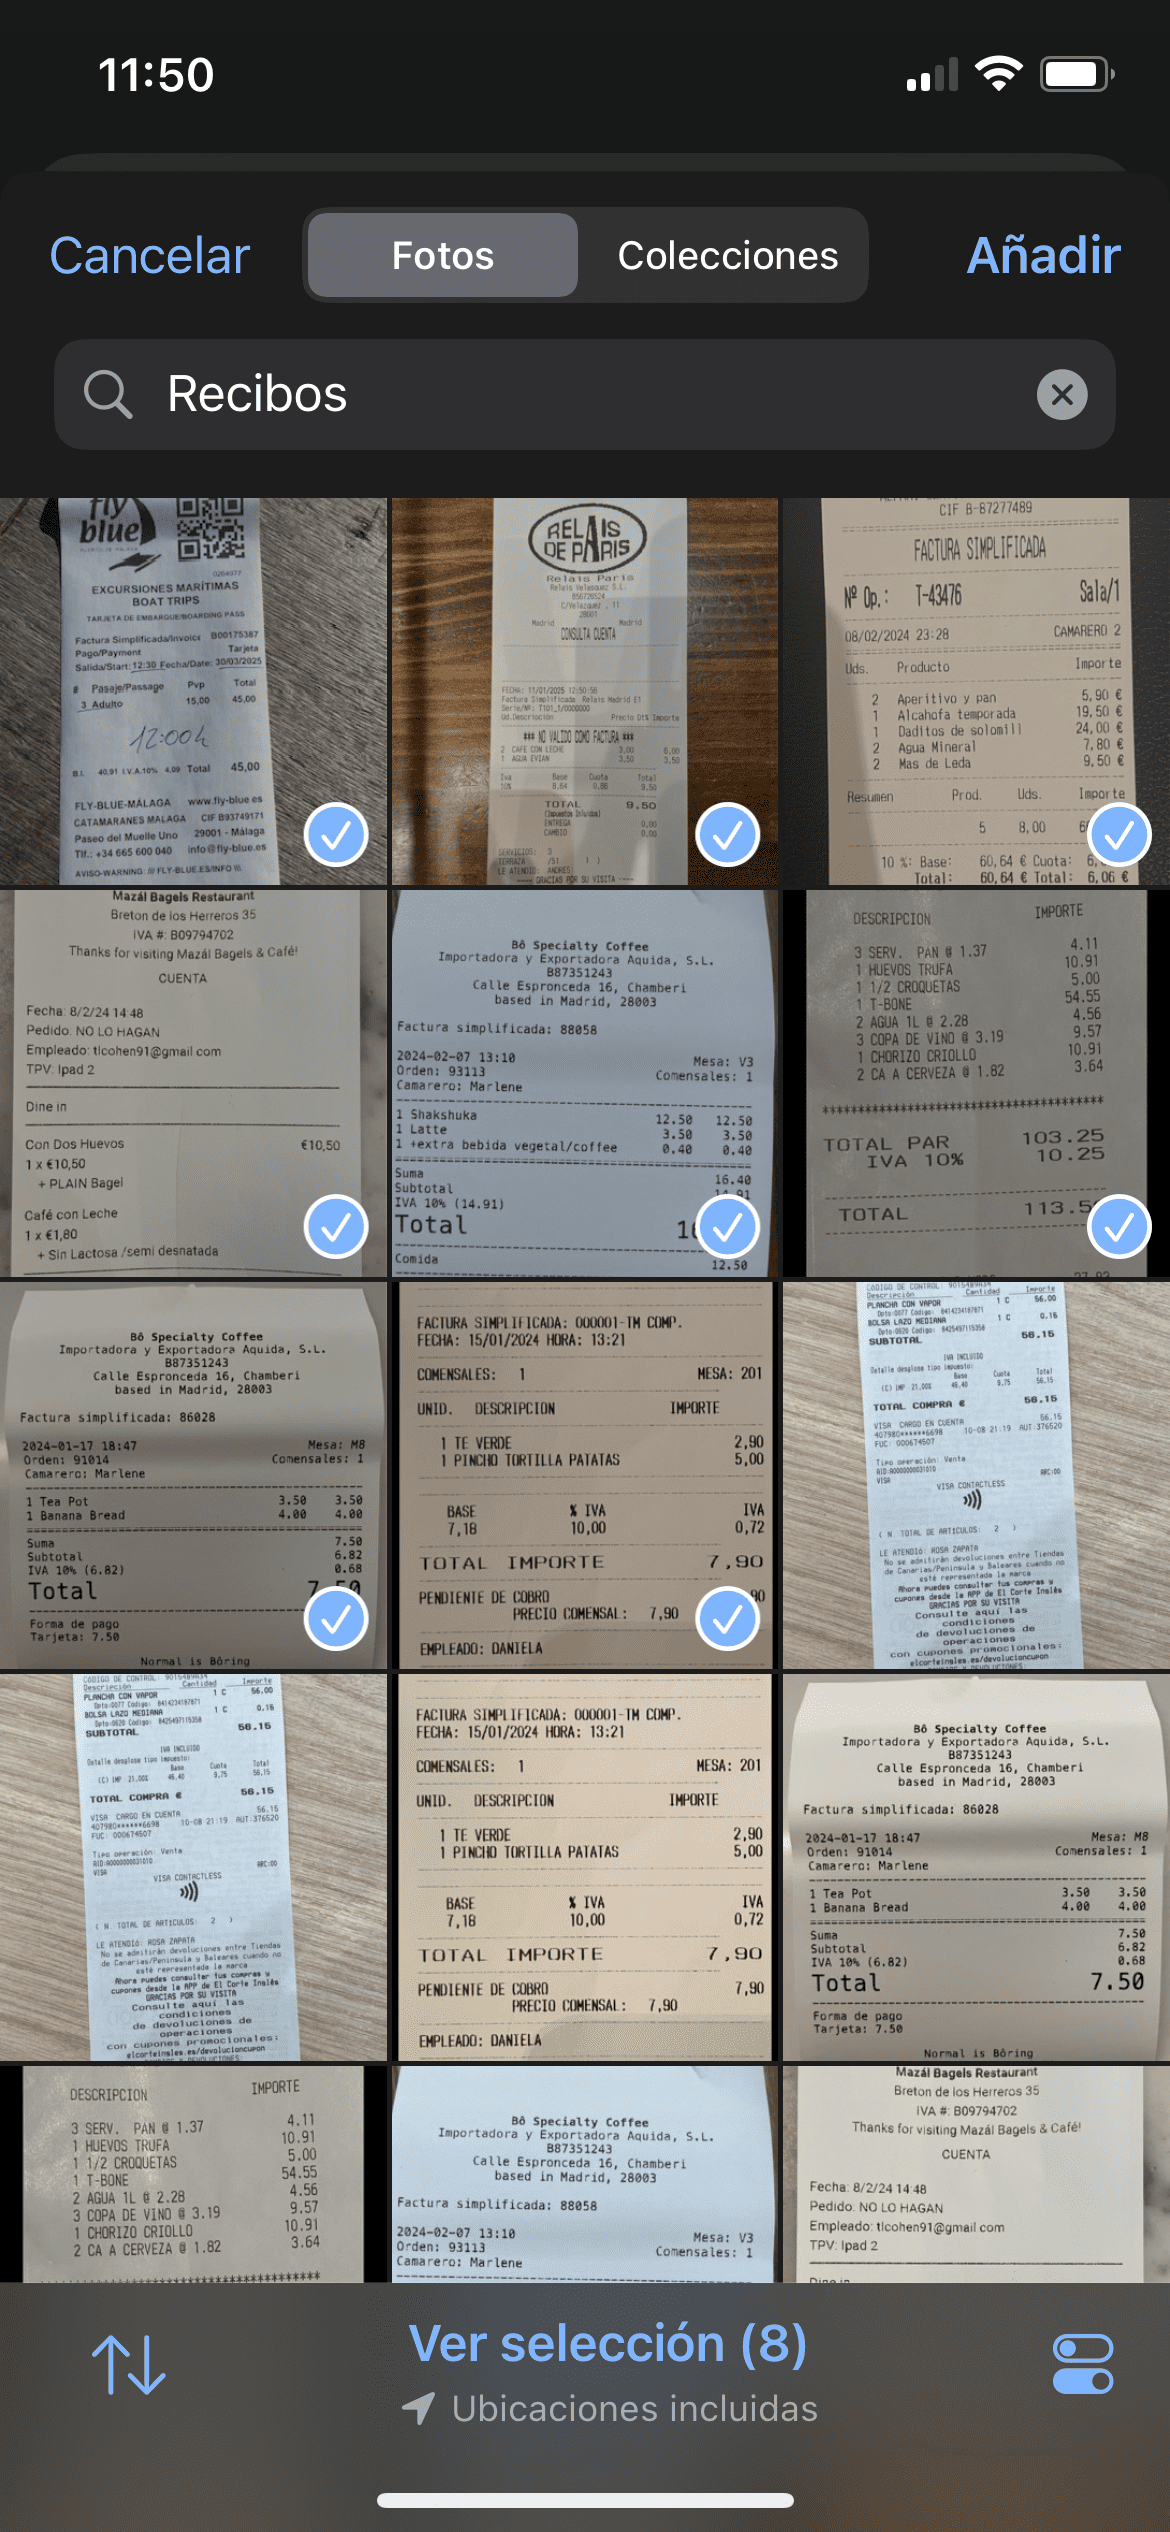
- A menu with options will open. Select "Photo Library" or "Gallery" to access the photos saved on your device.

In your device's gallery:
- Find the photos of the delivery notes you want to process
- Select images by tapping on them (a selection indicator will appear)
- You can select multiple images at once
- Take photos in good lighting
- Avoid shadows and reflections on the document
- Make sure the entire document is visible in the image
- Keep the device steady while taking the photo
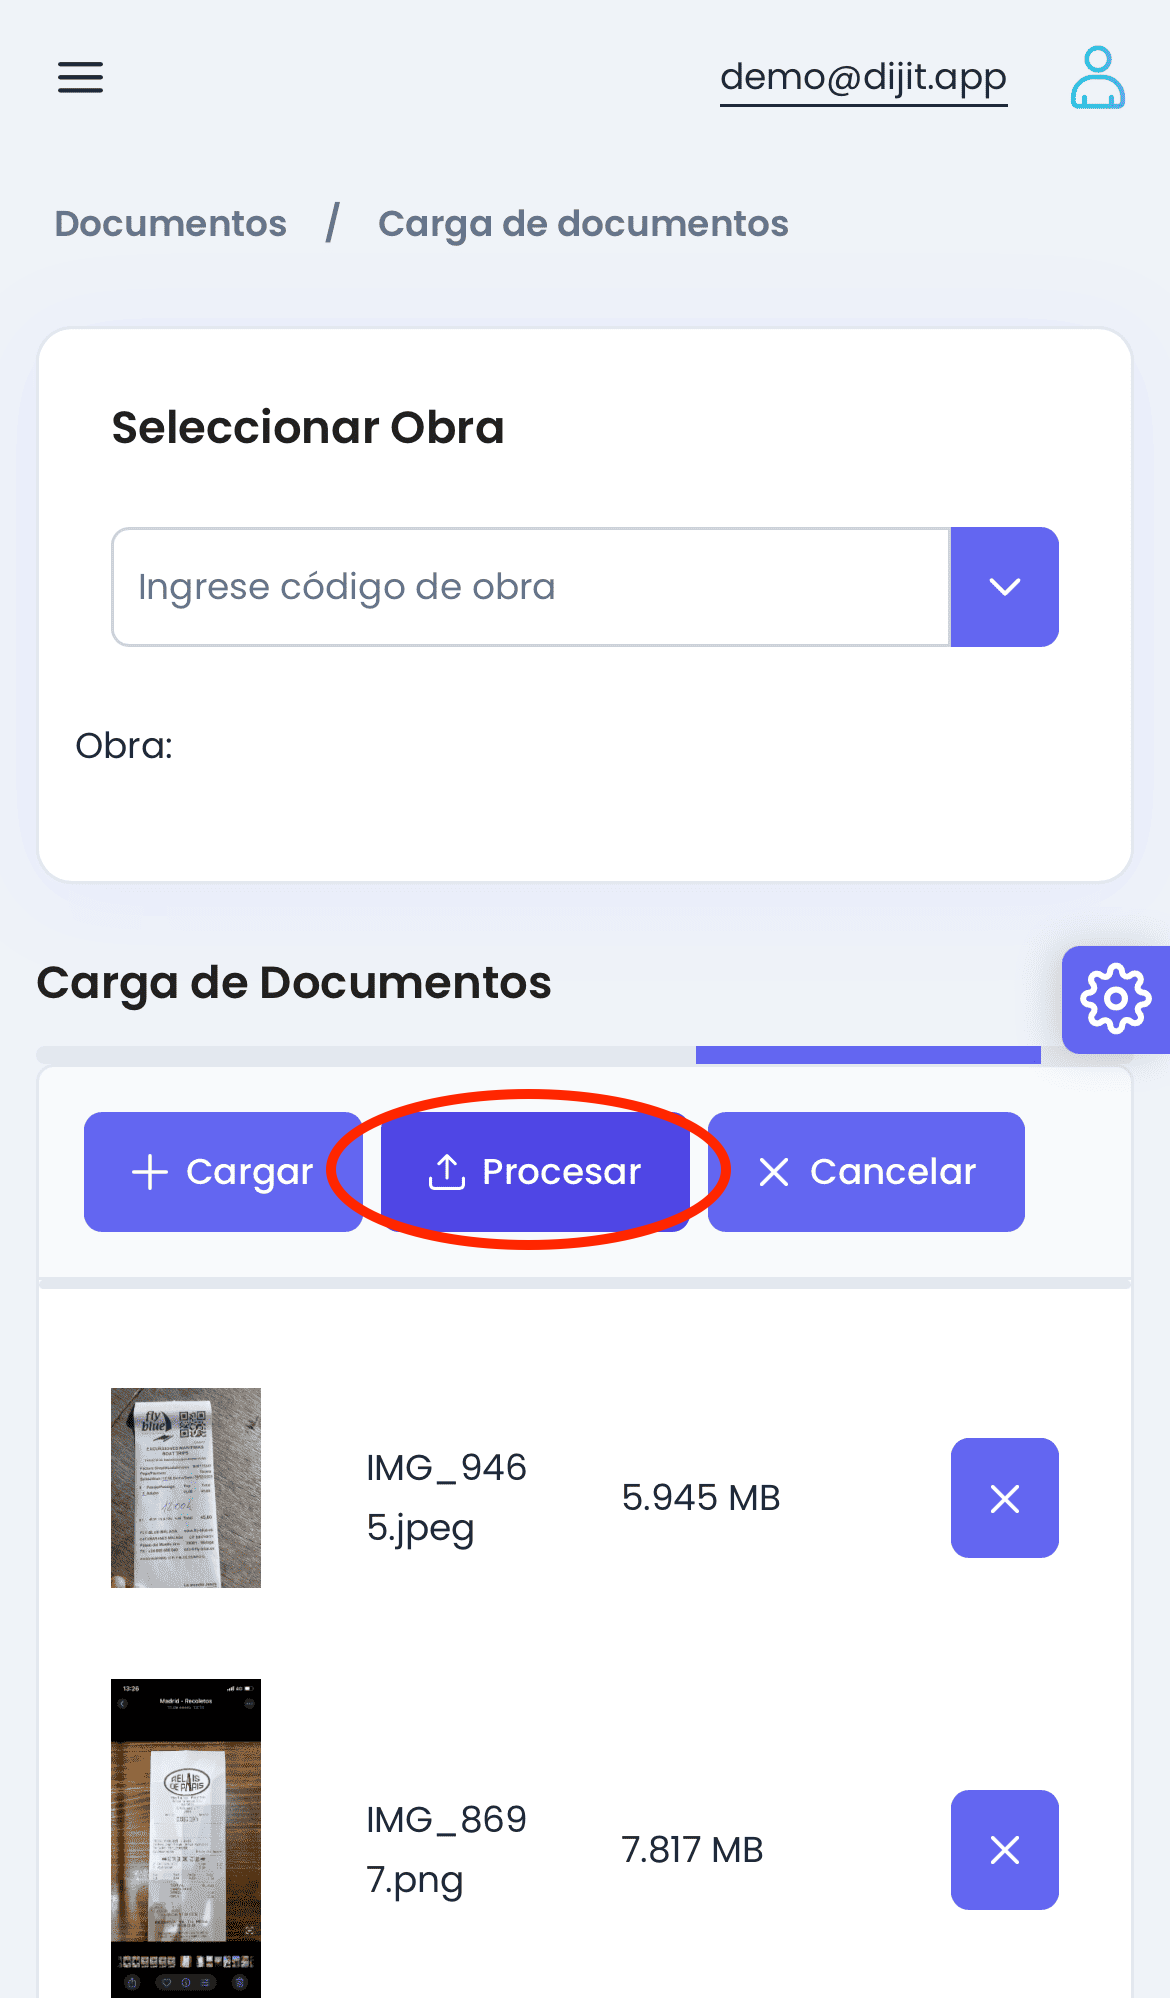
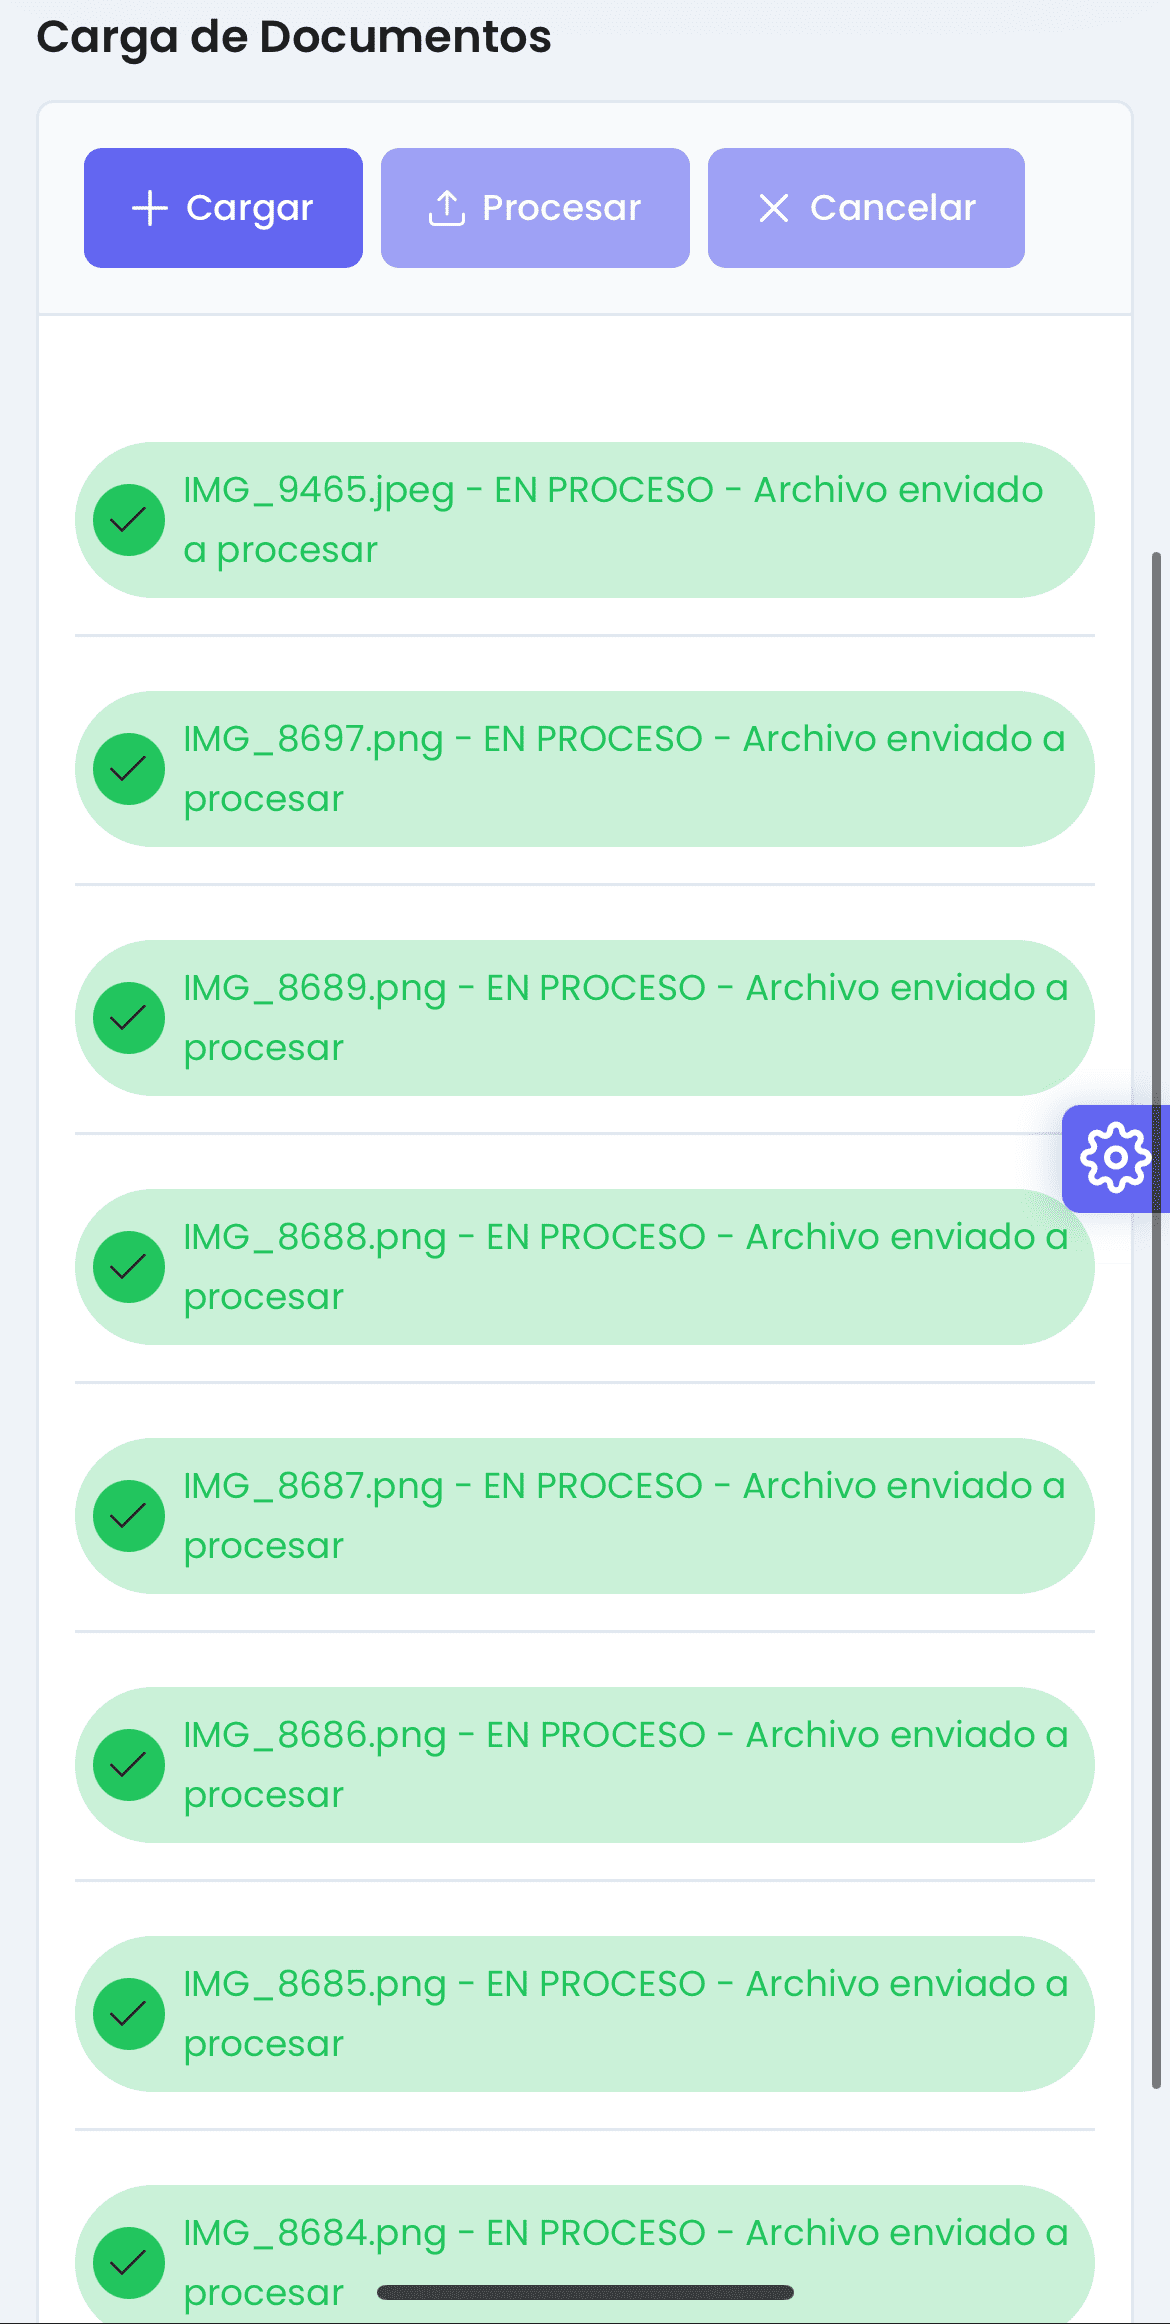
Once you have selected the images, you will be returned to the upload screen where you can see the documents ready to be processed: You must click on "Process"
Observe the status of the documents:
- Wait until all documents display a green indicator with the status "IN PROCESS - File sent for processing"
- This indicates that the documents have been processed correctly and are being analyzed by the system.
If you want to log out after completing your work:
- Click on the user icon in the top right corner
- Select "Sign Out" / "Exit the application"

Frequent questions
What types of documents can I upload?
Dijit.app is optimized for processing delivery notes, invoices, and business documents of any kind. Accepted formats include PDF or images, which can be JPG, PNG, and other common image formats.
What do I do if a document is not processed correctly?
If a document is not processed correctly (the indicator does not turn green), try taking a new photo of the document with better lighting and focus, and upload it again.
Can I use Dijit.app without an internet connection?
No, Dijit.app requires an internet connection to work, as OCR processing is done in the cloud.
How can I switch between projects?
In the invoice or delivery note management table on the main screen, you'll see a column called "Projects." You can filter this column by project or organize the table by project.